Want to protect your emails from phishing and spam filters? Start with DKIM.
DomainKeys Identified Mail (DKIM) ensures your emails are secure and trusted by email providers. It works by attaching a cryptographic signature to outgoing emails, verified by a public key in your DNS. This process confirms two things: the email is from you and hasn’t been tampered with.
Here’s why DKIM matters:
To set up DKIM, you’ll need DNS access, a generated key pair (public/private), and email server configuration. For multiple domains, automated tools like Mailforge make management efficient.
Steps to set up DKIM:
Pair DKIM with SPF and DMARC for stronger email security. Regularly monitor and rotate keys to maintain protection.
Bottom line: DKIM safeguards your email communications and boosts deliverability. Start with your main domain and expand as needed.
Before diving into your DKIM setup, make sure you have the necessary credentials and technical access to avoid any hiccups. Let’s break down the key requirements for a smooth process.
To set up DKIM, you’ll need administrative access to your domain’s DNS settings. This access is crucial because DKIM works by adding a TXT record with your public key to your domain's DNS zone. Without the proper permissions, the setup won’t be possible. Typically, this means having domain administrator rights or being granted DNS management access through your DNS provider or domain registrar. Most organizations manage these settings via their DNS provider’s dashboard.
Before starting, confirm you have full DNS access to add TXT records. Log in to your DNS management interface to check. If you run into issues or restrictions, reach out to your IT team or domain administrator to get the required permissions.
DKIM key pair generation involves creating two cryptographic keys - a public key and a private key - that work together to authenticate your emails. The private key stays secure on your email server and is used to sign outgoing messages, while the public key is published in your DNS as a TXT record. This allows recipient servers to verify the email signature.
For security, experts recommend using a key length of at least 2,048 bits to defend against brute-force attacks. Shorter keys, such as 1,024 bits, are now considered less secure. Whether you’re using your email provider’s tools or a dedicated DKIM generator, always opt for 2,048-bit encryption or higher.
Here’s an example of a DKIM TXT record:
selector1._domainkey.example.com IN TXT "v=DKIM1; k=rsa; p=MIIBIjANBgkqh...IDAQAB"
v=DKIM1), key type (k=rsa), and your public key.Many email providers, such as Google Workspace and Microsoft 365, offer tools to automatically generate DKIM keys and provide step-by-step guidance for updating your DNS records, making the process much easier.
If you’re managing DKIM for multiple domains, things can get tricky. Each domain requires its own unique key pair, proper DNS updates, and consistent email server configurations. Handling this manually can lead to errors and delays, especially for organizations managing hundreds or thousands of domains.
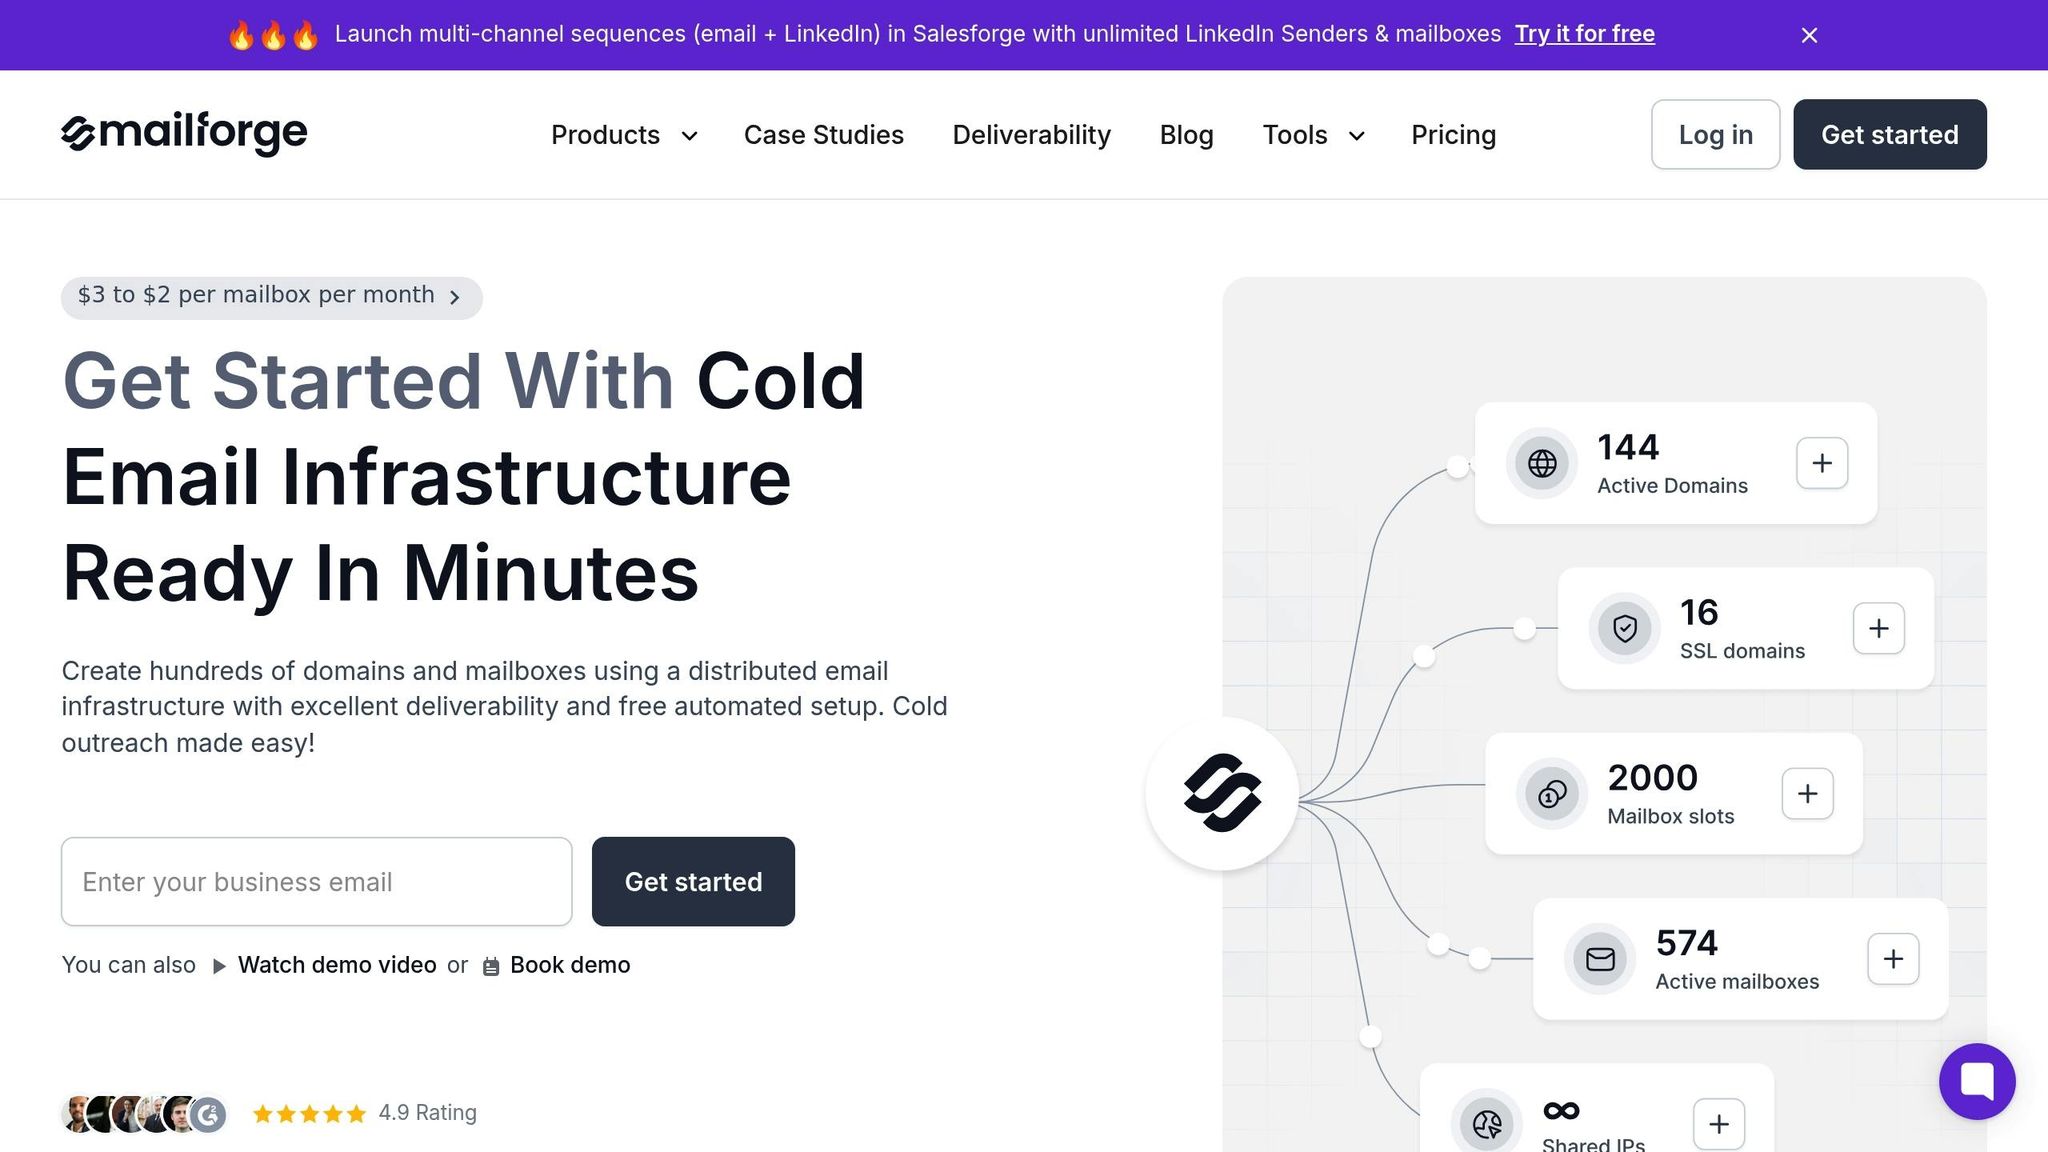
To simplify this, automated solutions like Mailforge can handle bulk DNS updates and reduce the risk of human error. These platforms generate and manage DKIM records across multiple domains, saving time and effort for large-scale email operations.
Before rolling out DKIM for multiple domains, take the following steps:
Keep in mind that after adding a DKIM record, it can take up to 48 hours for DNS changes to propagate fully. Plan your rollout schedule accordingly, especially if you’re coordinating email campaigns across multiple domains.
Follow these steps to set up DKIM once you have the required access.
Start by generating a 2,048-bit DKIM key pair using your email platform's tools.
After generating your key pair, publish the public key in your domain's DNS records. This step allows receiving email servers to verify your email signatures. The DNS record format looks like this:
selector._domainkey.yourdomain.com.
For example, if your selector is "mail2025" and your domain is "example.com", the record name would be:
mail2025._domainkey.example.com.
The TXT record value should include:
v=DKIM1; k=rsa; p=your_public_key_here
Here’s an example:
mail2025._domainkey.example.comv=DKIM1; k=rsa; p=MIIBIjANBgkqhkiG9w0BAQEFAAOCAQ8A...Create a new TXT record in your DNS console, ensuring the public key is entered accurately.
Note: DNS changes may take up to 48 hours to propagate globally. Once updated, proceed to configure your email server for DKIM signing.
After publishing the public key, set up your email server to sign outgoing messages with the private key.
"Procedures that usually took hours (setting DKIM, SPF, etc. records) for multiple domains, now take a few minutes. Mailforge is also cost-efficient since you spend per mailbox ~3 times less than with Gmail."
- Danny Goff, Director of Sales, Propeller
Mailforge also handles DMARC, SPF, and custom domain tracking, minimizing errors and ensuring seamless authentication for all sending domains.
Once your server is configured, it’s time to verify the setup.
To confirm your DKIM setup, send a test email to an external address and check the message headers for a DKIM=pass status.
Open the test email, view the full message headers, and locate the "Authentication-Results" field. If it shows DKIM=pass, your setup is functioning correctly. You should also see a "DKIM-Signature" field containing your domain and selector details.
You can also use online tools like MXToolbox or DKIMCore to validate your published DNS record and ensure the DKIM signature matches your configuration.
If the test fails, give it more time for DNS propagation. Common issues include incorrect selector names, formatting mistakes in the TXT record, or incomplete propagation. DKIM record checkers can help pinpoint and fix these problems.
Even with a proper setup, DKIM issues can pop up. Identifying and resolving them quickly is key to maintaining email deliverability.
Start by verifying your DKIM records. One way to do this is by sending a test email to an external account, like Gmail. Open the message, choose "Show original", and check the full headers. There are two key details to look for: the DKIM-Signature field, which includes your domain and selector information, and the Authentication-Results header, where you'll want to see dkim=pass for successful verification.
For a deeper check, use online tools like MXToolbox or DKIMCore. These tools query your DNS records to confirm that your DKIM TXT record is published correctly and that your public key is formatted properly. This method can catch issues that might not be obvious from email headers alone.
If you manage multiple domains, regular verification is essential. Platforms like Mailforge offer automated monitoring, continuously checking DKIM status across all your domains and alerting you to problems before they affect your emails.
If you discover any issues, the next step is to address common problems.
If your DKIM record isn’t visible after 48 hours, it’s time to check with your DNS provider.
Selector mismatches are a frequent cause of failures. The selector in your DNS record must exactly match the one used in your email server configuration. For instance, if your server uses "mail" as the selector, your DNS record should be named mail._domainkey.yourdomain.com.
Key length limitations can also create problems. Some DNS providers may truncate long TXT records, especially with 2,048-bit keys, resulting in an incomplete public key. If this happens, split the key into multiple quoted strings according to RFC guidelines or switch to a DNS provider that supports longer records.
Formatting errors are another common issue. Extra spaces, missing semicolons, or incorrect record types can all disrupt DKIM validation. Your DKIM record should start with v=DKIM1; k=rsa; p= followed immediately by your public key, with no unnecessary characters or line breaks.
| Common Issue | How to Identify | Solution |
|---|---|---|
| DNS propagation delay | Record not found using DNS lookup tools | Wait up to 48 hours and verify changes with your DNS provider |
| Selector mismatch | DKIM-Signature missing or incorrect in headers | Ensure the selector in your DNS and server configurations match exactly |
| Key truncation | Incomplete public key shown by DKIM checker | Split the key into quoted strings or switch to a supportive DNS provider |
| Formatting errors | DKIM validation fails despite correct key | Remove extra spaces; check semicolon placement and syntax |
Once you’ve resolved these issues, it’s important to keep an eye on your DKIM performance to ensure everything stays on track.
Ongoing monitoring is critical to catching small issues before they escalate. Make it a habit to send test emails to different providers regularly, checking for consistent dkim=pass results. This can help identify configuration changes or DNS updates that might have gone unnoticed.
DMARC aggregate reports are another valuable tool. These reports provide an overview of DKIM pass/fail statistics across receiving servers, helping you spot patterns that might indicate configuration problems or even potential domain spoofing attempts.
For businesses managing large-scale email operations, automated monitoring becomes indispensable. Tools like Mailforge offer real-time tracking of DKIM authentication across hundreds or even thousands of domains. They also send alerts the moment a failure occurs, allowing you to address problems before they impact your campaigns.
"Procedures that usually took hours (setting DKIM, SPF, etc. records) for multiple domains, now take a few minutes. Mailforge is also cost-efficient since you spend per mailbox ~3 times less than with Gmail. The support team replies in minutes and is happy to sort out issues in a proactive manner!" - Danny Goff, Director of Sales, Propeller
Regular monitoring also simplifies key rotation planning. As your DKIM keys age, maintaining consistent performance data helps you schedule updates without disrupting email flow. Many experts recommend rotating DKIM keys annually. To get a more complete picture of your email health, consider integrating DKIM monitoring with broader deliverability tools like Warmforge, which tracks email placement and reputation alongside authentication status.
Once your DKIM setup is running smoothly, it’s time to focus on best practices for security and efficiency. These steps are especially important if you’re managing several domains or expanding your email outreach efforts. Protecting your domain reputation should always be a priority.
To safeguard your DKIM implementation, always opt for encryption keys that are at least 2,048 bits long. Shorter keys are more susceptible to brute-force attacks, which could allow malicious actors to forge DKIM signatures. Regular key rotation is equally important - aim to generate a new key pair at least once a year. When rotating keys, update your DNS record with the new public key and configure your email server to use the new private key.
For a seamless transition, consider overlapping the old and new keys temporarily. This ensures uninterrupted email authentication during the switch. If you’re managing a large number of domains, automating the key rotation process is crucial. Manual updates can quickly become overwhelming and increase the risk of errors. Automated systems help maintain security consistently across your entire infrastructure.
DKIM is most effective when paired with SPF (Sender Policy Framework) and DMARC (Domain-based Message Authentication, Reporting & Conformance). Together, they create a robust shield against email spoofing and phishing attempts.
This layered approach not only reduces the risk of fraudulent emails slipping through but also boosts your email deliverability. For example, a U.S.-based marketing agency managing campaigns for multiple clients implemented 2,048-bit DKIM keys, regular key rotations, and SPF/DMARC policies. The result? Their inbox placement rates jumped from 85% to 97%, and phishing attempts targeting their domains dropped significantly.
To get started, publish an SPF record listing your authorized sending IP addresses. Next, add a DMARC record that outlines how to handle authentication failures. Begin with a lenient policy like p=none to monitor results, and then gradually move to stricter policies such as p=quarantine or p=reject as you fine-tune your setup. Using effective management tools alongside these practices can make your DKIM operations more scalable and hassle-free.
For businesses managing multiple domains or scaling their email outreach, Mailforge offers a streamlined solution. This platform centralizes the management of DKIM, SPF, and DMARC records, ensuring strong encryption standards and regular key rotations without relying on manual processes.
Mailforge’s centralized approach is a game-changer for agencies, startups, and enterprises. Instead of configuring each domain one by one, you can manage your entire email infrastructure effortlessly. The platform automatically applies industry best practices, saving you time and reducing operational complexity. This makes it easier to maintain consistent security across all your domains while focusing on growing your outreach efforts.
Setting up DKIM authentication is a key step in ensuring secure email communication and safeguarding your brand's reputation. This process involves creating a key pair, publishing the public key in DNS, configuring your server to sign outgoing emails, and verifying that everything is working correctly.
The advantages of using DKIM are clear. When combined with SPF and DMARC, it significantly improves inbox placement rates, strengthens your domain's reputation, and protects against email spoofing attacks. Major email providers like Gmail and Outlook are more likely to trust your messages, reducing the chances of your emails landing in spam folders. This not only secures your email communications but also supports the scalability of your email operations.
For businesses managing multiple domains, centralized and automated solutions can save time and reduce errors. Tools like Mailforge make it easier to handle DKIM configurations across various domains, ensuring consistent security and efficiency.
Start implementing DKIM today. Begin with your main sending domain and follow the steps outlined in this guide. Gradually expand to other domains, and make sure to use strong 2,048-bit encryption keys. Pair DKIM with SPF and DMARC for a comprehensive email security setup.
Investing in proper email authentication enhances deliverability, minimizes spoofing risks, and prepares your email infrastructure for growth. Whether you're sending a handful of emails or managing large-scale campaigns, DKIM is an essential first step toward building trust and reliability in your email communications.
Email authentication is crucial for protecting your domain from spoofing and phishing attacks, and three key protocols - DKIM, SPF, and DMARC - work together to make this happen.
Mailforge takes the complexity out of this process by automating the setup of DKIM, SPF, and DMARC. This ensures your email system is secure and meets industry standards, improving both protection and deliverability.
Setting up DKIM can sometimes hit a few bumps, but the good news is most issues are straightforward to fix with the right steps. Here are some common problems and how to address them:
To simplify the setup, tools like Mailforge can handle much of the heavy lifting, automating DNS configurations and minimizing errors. Once set up, use email testing tools to confirm that your DKIM is properly configured and working as it should.
Regularly updating your DKIM keys plays a key role in keeping your email security strong and safeguarding your domain from misuse. As time passes, keys can become less secure due to extended exposure or evolving hacking methods. Rotating them ensures your email authentication stays effective and aligned with current security standards.
Automation tools, such as Mailforge, simplify this process by managing key generation, publishing, and rotation automatically. This not only removes the hassle of manual updates but also minimizes errors, keeping your DKIM setup running smoothly for optimal email deliverability and protection.