
Personalized Outbound Strategy
Get The Right Outbound Strategy In Minutes
Enter your email to get a custom plan & stack recommendation for your business
It's being carefully crafted by AI
Please check your mailbox in 5 minutes

Your AI agent can write the perfect reply in seconds. But where does it actually receive the email?
To work over email, an AI agent needs more than an email address. It needs a real inbox it can access, a properly authenticated domain, and a secure way to send, receive, and reply to messages.
This is where the setup can get confusing. Should you use SMTP and IMAP, an API, or MCP? And how do you connect everything without giving the agent more access than it needs?
In this guide, I’ll show you how to set up an email inbox for AI agents step by step, connect it to your agent, and test the full flow before you let it handle emails on its own.
To set up an email inbox for an AI agent, you need to create the mailbox, authenticate its domain, and give your agent a secure way to access email.
Once this send → receive → reply flow works, your AI agent has a working email inbox.
First, decide where you want to create and host the inbox your AI agent will use. The main options are:
Your choice depends on what you are building. If one support or internal AI agent needs a single inbox, a standard business mailbox may be enough. If you plan to run many agents with separate inboxes, look for a setup that makes it easier to manage those mailboxes at scale.
For now, the goal is simply to choose where your AI agent's inbox will live. You'll connect the inbox to the agent in the later steps.
Once you choose where to host the inbox, create a separate email address for the AI agent. Use an address that makes the agent's role clear. For example:
Avoid connecting the agent to your personal inbox or a shared company inbox. A dedicated mailbox keeps the agent's emails separate and makes it easier to control what it can access. When creating the mailbox, set a strong password and save the login details securely.
You may need these credentials later when connecting the inbox through SMTP/IMAP or another supported method.
If you are running several AI agents, create a separate inbox for each one. This makes it easier to track which agent sent an email, manage access, and disable one inbox without affecting the others.
Once the mailbox is active, you can move on to authenticating the domain before the agent starts sending email.
Before your AI agent starts sending emails, make sure the domain behind its inbox is properly authenticated. The three main records to check are:
How you set these up depends on your email provider. Some providers give you the DNS records to add manually, while others handle part or all of the setup for you.
For example, Mailforge automatically configures standard SPF, DKIM, and DMARC for infrastructure created through Mailforge.
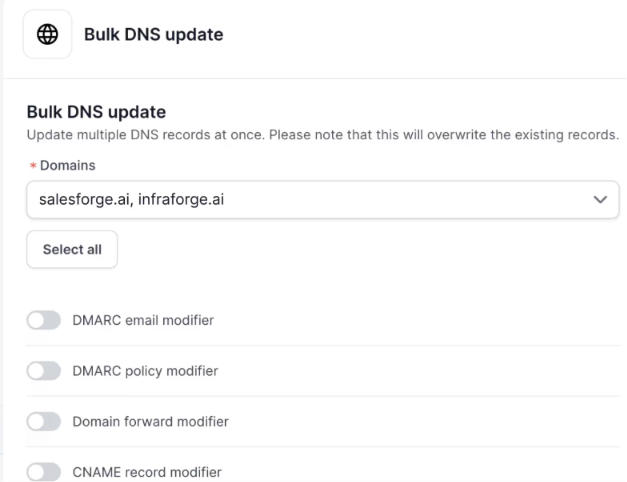
After setup, check that all three records are published correctly before you let the AI agent start sending emails. This helps receiving mail servers verify that messages really come from your domain.
Your mailbox is ready, but the AI agent still needs a way to send emails and access incoming messages. The right method depends on how your agent is built.
Use SMTP and IMAP when your application needs direct mailbox access.
For example, your app can read a new email through IMAP, pass the message to the AI agent, and send the agent's reply through SMTP.
Use an email API when your AI agent is part of your own app or backend.
Instead of connecting directly through SMTP and IMAP, your backend calls the provider's API. The exact actions available depend on the provider, but an email API may support sending messages, reading emails, or working with threads and mailbox data.
The flow looks like this:
Email Inbox → Your Backend → AI Agent → Your Backend → Email Inbox
This setup keeps the inbox credentials in your backend and lets your application control which email actions the agent can take.
Use MCP when your AI client supports MCP and you want it to use tools exposed by an MCP server.
MCP is different from SMTP, IMAP, and an email API. It does not provide mailbox access by itself. The AI agent can only perform the actions that the connected MCP server exposes. For example, Forge MCP exposes Mailforge tools for workspaces, domains, mailboxes, DNS, and domain availability.
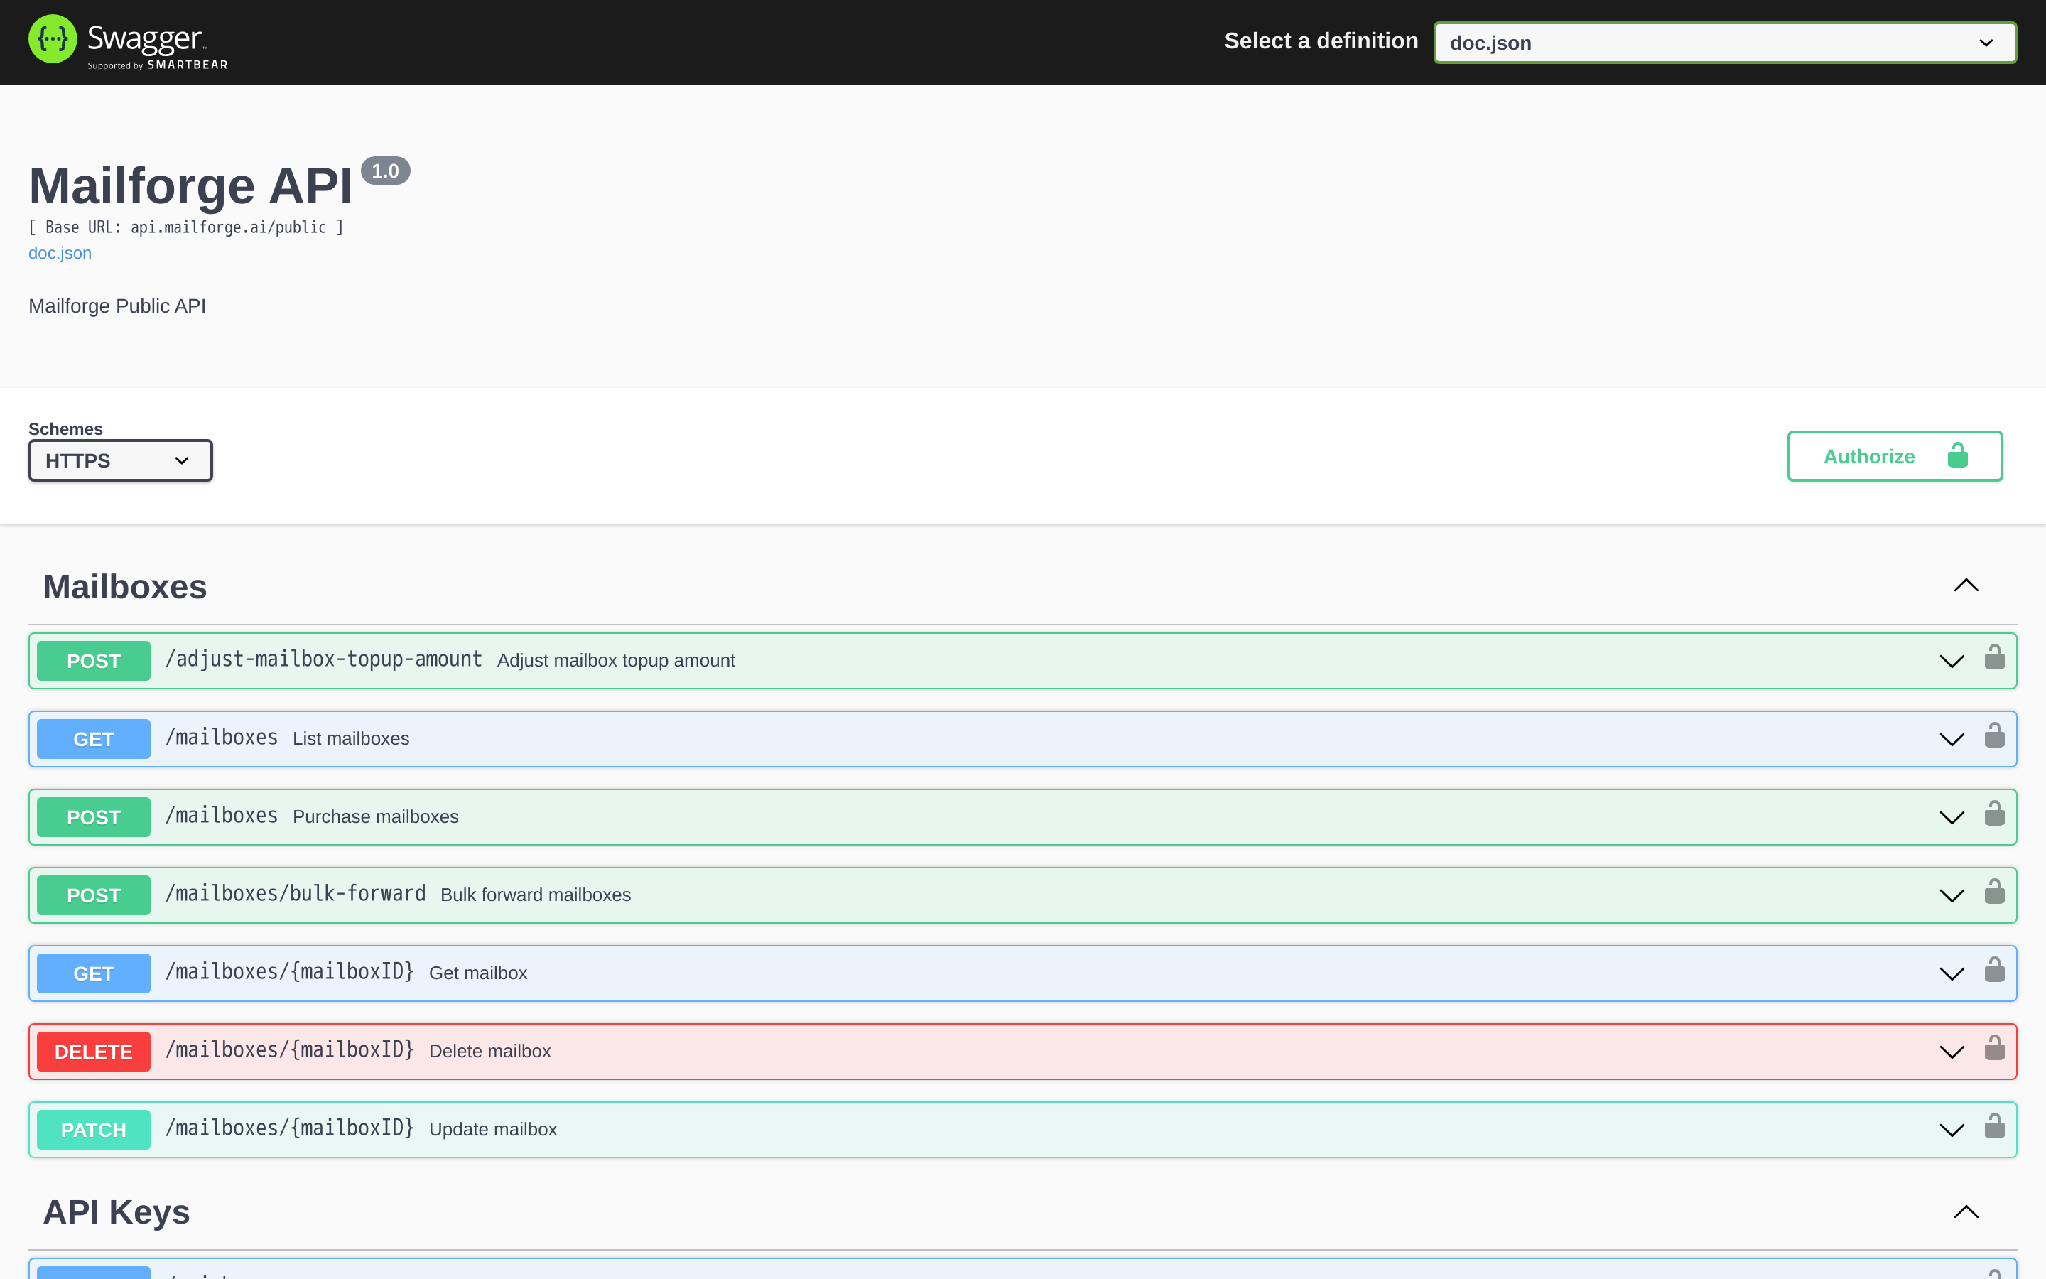
So the choice is:
In the next step, you will use the method you choose here to connect the inbox to your AI agent.
Your inbox is ready. Now you need to connect it so your AI agent can actually use it. There are two ways to do this, depending on your setup.
If you are building your own AI agent or product, this is the most practical route. Start by getting the access details for the mailbox from your email provider. If you are using SMTP and IMAP, you will usually need the email address, password, SMTP host and port, and IMAP host and port. Then:
So when someone emails your agent, the flow becomes:
Email arrives → Your app reads it → AI agent writes a reply → Your app sends the reply
The important part is that your app holds the mailbox credentials, not the AI agent.
If you are using an MCP-compatible AI client, such as Claude or Cursor, you can connect it to services that provide an MCP server.
For example, Forge MCP can give an AI client access to Mailforge infrastructure tools. To connect Mailforge:
If it returns your Mailforge domain data, the connection is working. Forge MCP currently exposes Mailforge tools for workspaces, domains, mailboxes, DNS, and domain availability.
This Mailforge MCP connection helps the AI work with email infrastructure. Based on the documentation you provided, it does not give the AI client the ability to read the emails inside a Mailforge inbox or send replies through MCP itself.
Once your connection works, you can test the actual send, receive, and reply flow in the next step.
Before you let the AI agent handle real emails, test the complete inbox flow using an email address you control.
First, ask the agent to create and send a short test email. Confirm that it comes from the correct agent inbox, reaches the receiving mailbox, and passes SPF, DKIM, and DMARC authentication.
Then reply to that email and check the other direction. Make sure the message reaches the agent's inbox, your application can pass it to the AI agent, and the agent can read it and prepare a relevant reply.
During the first few tests, review the reply before allowing your application to send it.
The complete flow should look like this:
AI Agent → Sends Email → Recipient Replies → Agent Inbox → AI Reads Reply → Drafts Response → Response Sent
Once this full loop works, you know the agent can send, receive, and reply through the inbox you set up. This is cleaner. It also gives the setup guide a stronger ending because Step 6 verifies the whole setup, rather than testing outbound and inbound email in two nearly identical sections.
Giving an AI agent access to an inbox also means giving it access to email content and, in some setups, the ability to send messages. So keep that access limited from the start. A few rules matter most:
The goal is not to give the AI agent full control of the inbox. Give it only the access required to complete its job, while your application keeps control of credentials and sensitive actions.
A few setup mistakes can cause problems with email access, sending, or security.
Enter your email to get a custom plan & stack recommendation for your business
Please check your mailbox in 5 minutes
Setting up an email inbox for an AI agent is not just about creating a new email address. The agent needs a properly authenticated domain, secure inbox access, and a connection that lets it send, receive, and reply to emails.
Start with one inbox and test the full send → receive → reply flow before you use it with real conversations. Whether you choose SMTP/IMAP, an email API, or MCP depends on what you want the agent to do and how your setup works.
If you also need an easier way to create and manage the email infrastructure behind your agents, Mailforge can help. You can manage domains and mailboxes from one place and use its API or Forge MCP support when you need to connect that infrastructure to your workflows.